
Last updated November 21, 2026
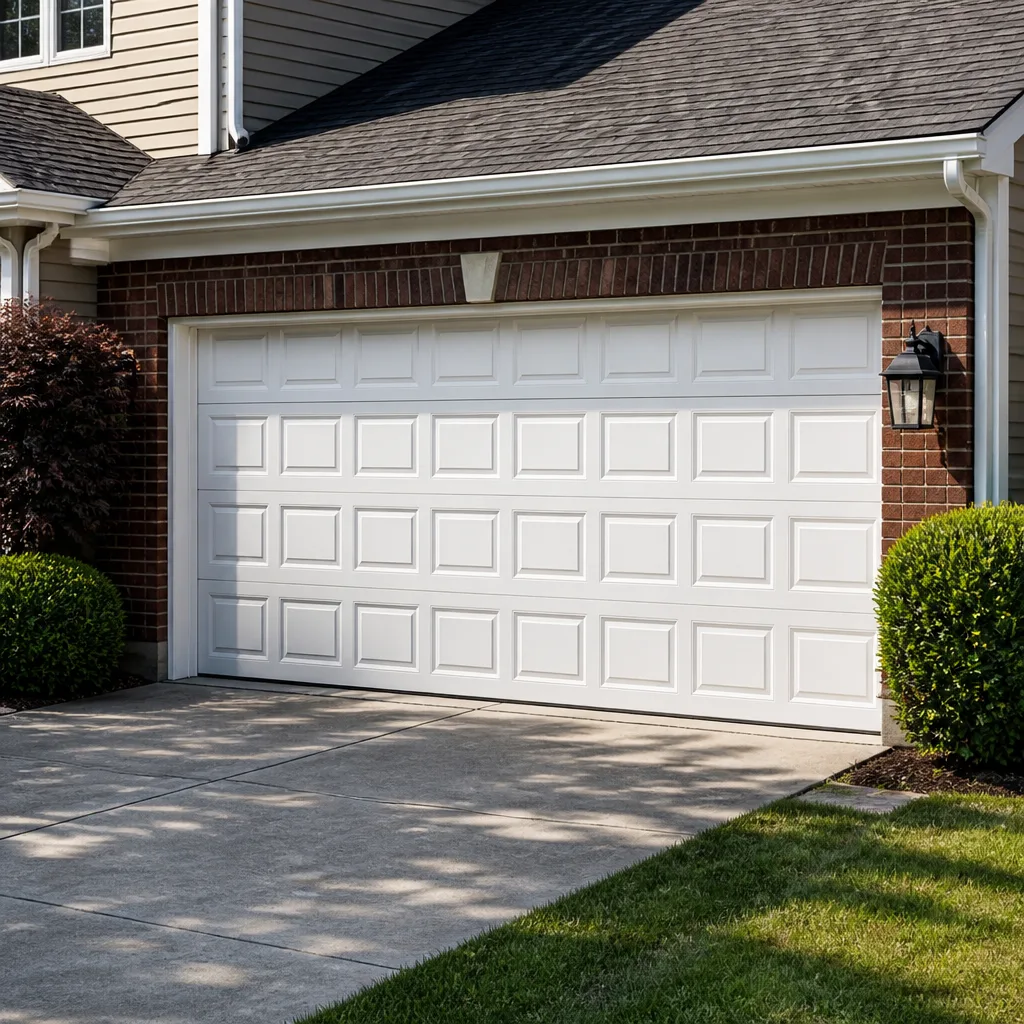 Raised-panel steel
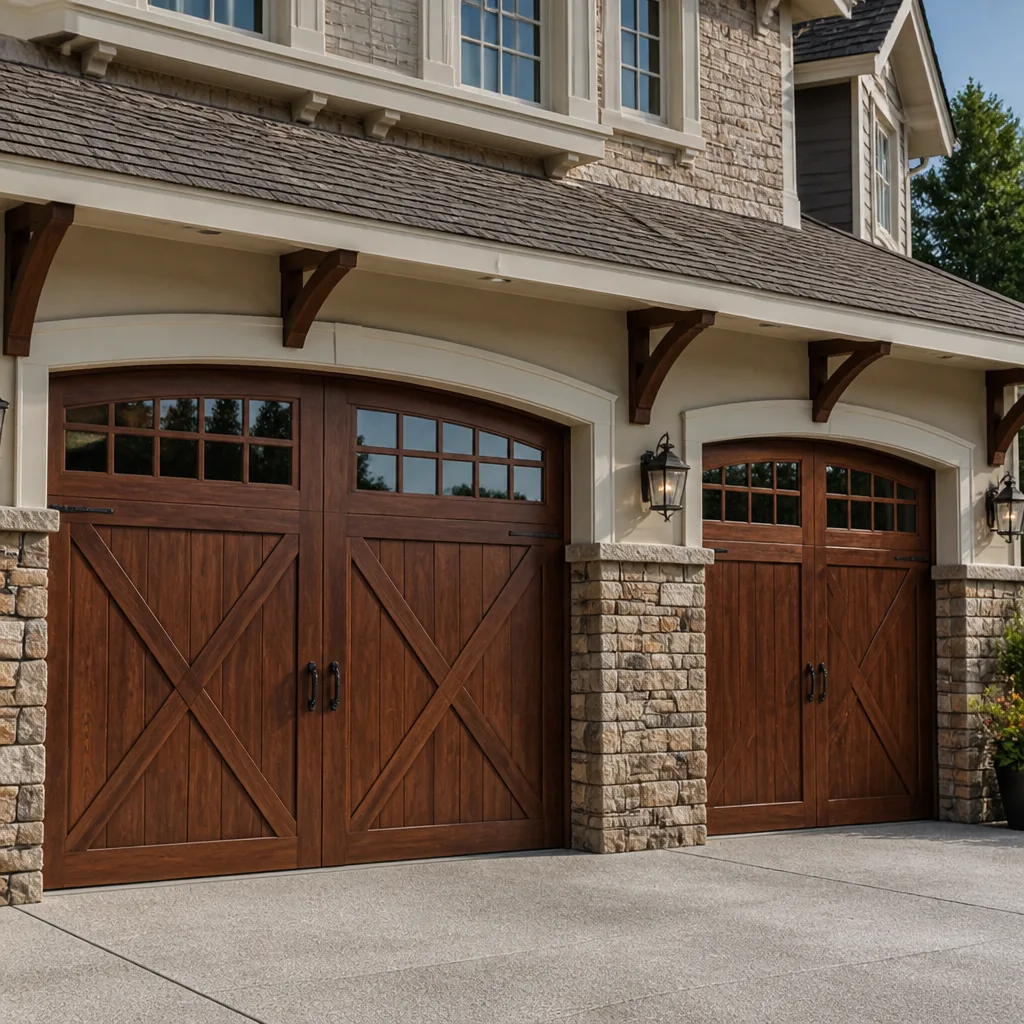 Carriage house
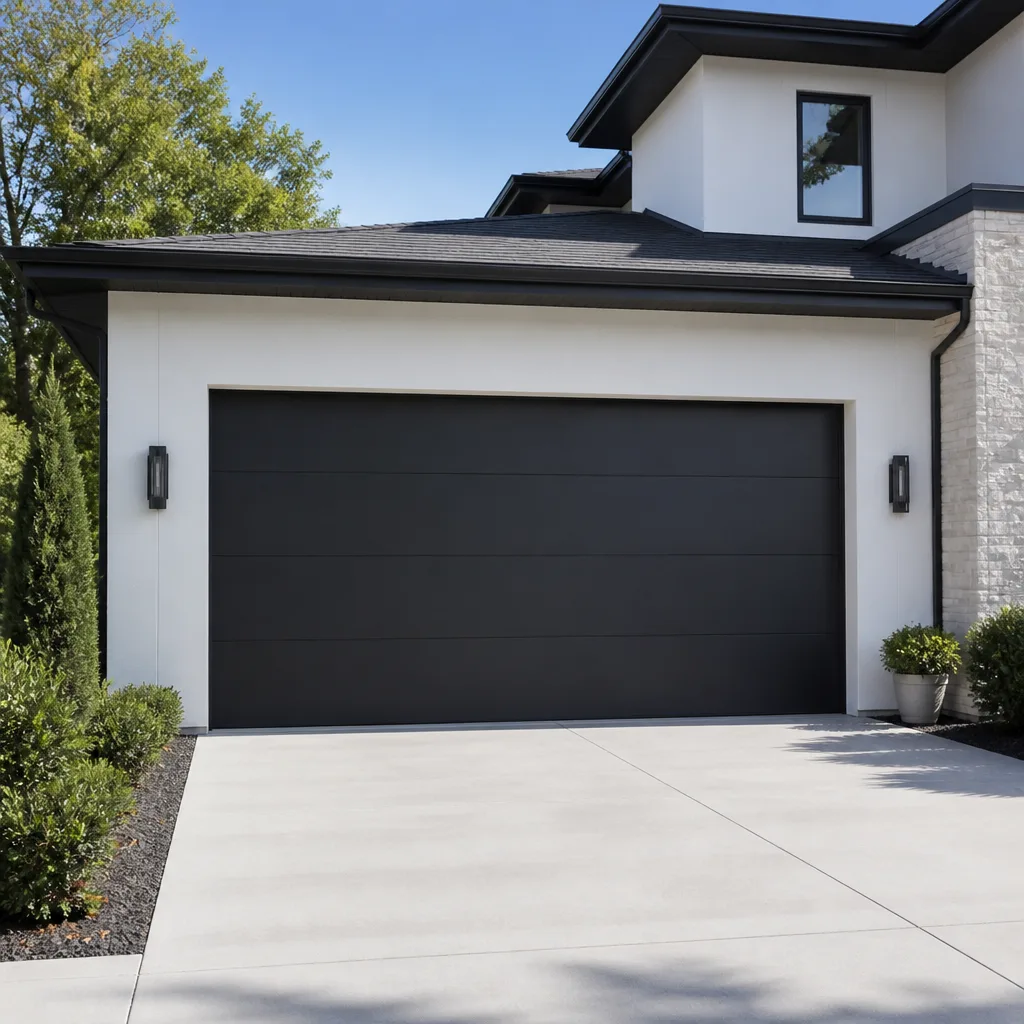 Modern flush
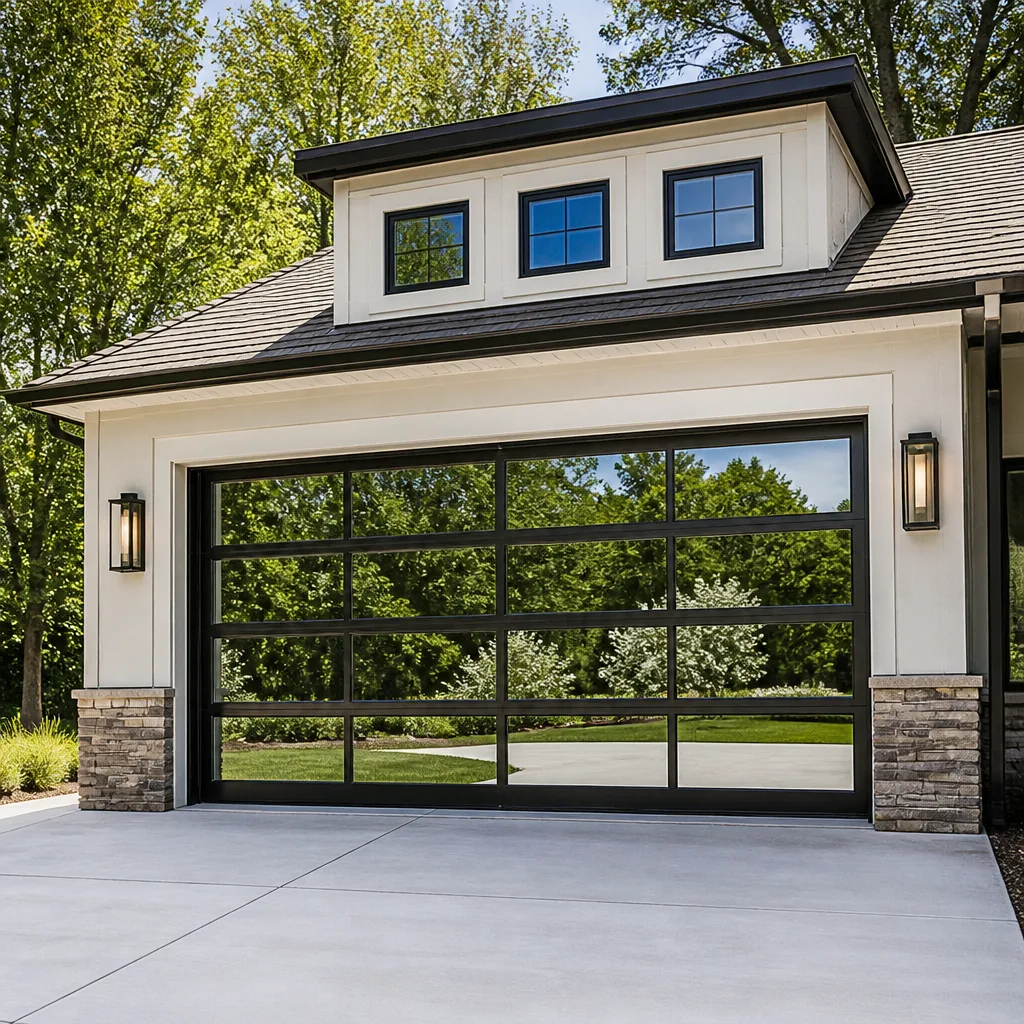 Full-view glass
 LiftMaster openers
 Chamberlain openers
Full 25-point door and opener safety check with every visit - springs, cables, rollers, tracks, and your LiftMaster or Chamberlain opener included
You get a price before we start. It does not change when the pro arrives.
Get your free estimateGarage Door Repair Maintenance Checklist for Lorain Homeowners
Lubricating the rollers before you check spring tension is like changing your oil before you diagnose an engine knock. The oil change feels productive, and the knock keeps getting worse underneath it. Most garage door maintenance advice online hands you a random list of tasks with no order, and that order is the whole point. A door is a chain of connected parts: springs carry the load, cables transfer it, the opener pushes and pulls, and the tracks keep everything moving in a straight line. Check them out of sequence and you’ll spend an afternoon polishing parts that were never the problem. This guide gives you a mechanically logical inspection order, the specific tolerances you can measure yourself without special tools, and a seasonal schedule built around how Lorain weather actually treats a garage.
Quick Answer
A proper garage door maintenance checklist starts with structural and tension checks, moves to the balance and travel tests, and only then gets to lubrication and cosmetic work. The order matters because a loose track or a weakening spring will distort every measurement you take afterward, and lubricant can hide the friction that was pointing you toward the real fault. If you complete the sequence and the door still binds, drops fast, or won’t reverse, that’s a spring or cable issue for a trained garage door technician, not a Saturday DIY project.
Styles & brands we work with
- Raised-panel steel
- Carriage house
- Modern flush
- Full-view glass
- LiftMaster openers
- Chamberlain openers
Table of Contents
- Why the Order of Your Checklist Matters More Than the List
- Step One: The Structural and Visual Inspection
- The Measurable Tolerances You Can Check Yourself
- The Balance Test and What It Tells You About Spring Health
- Lubrication: The Right Parts, the Right Order
- Corrosion on Lorain’s Lakeside and Industrial Streets
- Which Tasks Keep Your Warranty and Which Void It
- A Seasonal Checklist for Lorain Weather Windows
Why the Order of Your Checklist Matters More Than the List
Two things go wrong when you maintain a garage door in a random order. First, you measure against a bad baseline. If a vertical track has shifted a quarter inch, the door travels unevenly and every roller rides hard; greasing those rollers makes the noise quieter while the misalignment keeps grinding metal. Second, you skip the checks that actually predict failure. Torsion spring tension, cable condition, and the balance point are the three indicators that tell you a door is heading toward a snapped spring or a dropped corner. Those checks have to come before anything that changes how the door sounds or feels.
Think of the sequence in four phases, in this order:
- Look without touching. Inspect structure, mounting, tracks, and hardware while the door is closed and at rest.
- Test the load. Run the balance test to see how the springs are carrying the door’s weight.
- Test the movement. Check travel, speed, and reversal with the opener.
- Maintain and protect. Lubricate the correct parts, tighten hardware, and clean the surfaces.
We’ve walked plenty of Lorain driveways where the owner had been lubricating a door monthly and still got a surprise spring failure, because nobody had ever checked the cable drums or the bearing plates. If you follow the sequence in this guide once a season, you’ll catch the same categories of wear that a professional inspection looks for when we handle garage door repair in Lorain.
Step One: The Structural and Visual Inspection
Start with the door closed and the opener disconnected if your model has a manual release. This phase is entirely visual and requires no tools beyond a flashlight. You’re looking for anything that has moved from where the manufacturer put it.
- Springs above the door. Look at the coil for a visible gap or a section that hangs differently from the rest. A snapped torsion spring often separates cleanly, but a fatigued one can simply sag. Never reach up to test a spring by hand or with a tool. These springs carry enough stored force to cause serious injury. If something looks wrong, that’s your signal to call a specialist.
- Cables. Both lift cables should sit evenly in their drums and run without fraying. A single broken strand or a loose cable is a stop-work condition.
- Track alignment. With the door closed, the vertical tracks should be parallel and plumb. Stand at the side and sight down each track. Any bend or bow, especially near the bottom bracket, needs attention before you run the door again.
- Hinges and rollers. Rollers should sit fully in the track without wobble. Hinge plates should be flat against the panel with no gap at the screws.
- Panels and sections. Look along the bottom edge and the seams for cracks, separation, or water damage. A panel that has started to delaminate will flex under opener load and wear the hinges around it. If you’re on Clopay or Wayne Dalton sections, panel integrity matters for the warranty on the steel finish.
- The bottom seal and threshold. The rubber should compress against the floor along its full width. A gap at one end lets in rain and mice and is often the first sign the door has settled out of square.
Write down anything you find and finish the inspection before you go back to fix it. You’ll get a much clearer picture of a cascade problem that way, which is the whole point of the sequence.
The Measurable Tolerances You Can Check Yourself
You don’t need a dial gauge to catch the failures that matter. A tape measure, a level, and your hand will cover the checks below. These are the numbers to aim for, and the numbers we look at when we arrive on a Lorain job.
- Track gap at the rollers. With the door closed, the space between a roller stem and the inside edge of the track should stay consistent as you sight down the length. If the gap visibly widens or narrows, the track has moved.
- Plumb check on the vertical tracks. Hold a level against the outside face of each vertical track. It should read plumb. A quarter inch of lean over the height of the track is enough to cause binding and noise.
- Spring coil gap. On a healthy torsion spring, the coils sit evenly spaced when the door is closed and the spring is relaxed. A gap larger than a credit card thickness means the spring is winding unevenly, and it’s time for a professional to look at it.
- Bottom seal contact. Slide a piece of paper under the closed door at three points along the width. If it pulls out easily at one end, the door isn’t sealing there.
- Opener rail sag. With the door closed, look along the opener rail from the motor to the door. It should be straight. Any bow means the mounting brackets have loosened or the rail is overloaded.
- Panel deflection. Push gently against the center of the top panel. A small amount of give is normal. A visible bow under hand pressure means the door is losing stiffness and the opener is doing the structural work.
None of these checks require you to touch a loaded spring, loosen a cable, or adjust a bracket under tension. Those are the spots where a homeowner can get seriously hurt, which is why our garage door spring repair technicians handle the tension side of the checklist and we explain the rest so you can watch for the warning signs.
The Balance Test and What It Tells You About Spring Health
The balance test is the single best indicator of whether a door is heading toward a spring failure, and it takes about a minute. Do it with the opener disconnected using the manual release so the door moves by hand only.
- Raise the door by hand to roughly waist height and let go.
- It should stay where you stopped it, or drift within a few inches.
- Lift it to the halfway point and let go again.
- A properly balanced door holds at half height. A door that drops a foot or more is running with weak springs, and the opener is lifting the difference every single time.
- A door that shoots up fast is running with too much stored force, which is just as bad and puts extra stress on the cable and bottom bracket.
If the door won’t hold position through either test, don’t keep running the opener. Weak springs overload the opener motor, wear the gears, and shorten the life of units on Genie or Chamberlain systems just as much as any other. If the balance test fails, schedule the door for a spring evaluation rather than trying to adjust the tension yourself. Torsion and extension springs are the most dangerous component on the whole assembly, and correcting tension needs proper winding bars and training.
Lubrication: The Right Parts, the Right Order
Now that you’ve finished the structural checks and the balance test, lubrication makes sense. Greasing a door before you’ve looked for misalignment is how you cover up the real problem with a nice quiet layer of product. When you do lubricate, target these parts in this order:
- Hinges and pivot points. A drop of garage door lubricant at each hinge pivot. Wipe off the excess so it doesn’t collect grit.
- Roller stems and bearings. Lubricate the roller bearing, not the rubber wheel. Never grease the track surface itself, which will collect dust and grit.
- Spring coils. A light coat on a torsion spring reduces friction between the coils, but this is a protective step, not a repair step. If the spring is failing, lubricant won’t save it.
- Bearing plates and center bracket. A small amount at the moving points.
- Opener rail and chain or belt. Check the owner’s manual, because belt and chain drive systems have different lubricant recommendations, and a few modern openers call for none at all.
Use a garage door lubricant, not WD-40 or a general-purpose oil. A proper lubricant stays put and won’t attract dirt the way a light oil will. This is one of the few maintenance tasks the manufacturer explicitly approves for the homeowner, so doing it correctly keeps the warranty intact on most garage door hardware.
Corrosion on Lorain’s Lakeside and Industrial Streets
Lorain garages see a corrosion cycle that inland cities don’t have to worry about as much. Road salt tracks in on the floor of a winter vehicle, sits against the bottom seal and bottom bracket, and never fully dries out through a humid Ohio spring. On streets near the industrial south side and along the near-lakeside blocks, we routinely see hardware that has rusted faster than the same part on a garage fifteen miles inland.
The parts that suffer first are the bottom brackets, the bottom rollers, the hinge plates closest to the floor, and any unpainted steel hardware near the threshold. Once rust reaches a bottom bracket, the whole bottom section has to be treated as a safety issue, because that bracket is what keeps the cable anchored. A rusty anchor point is a real risk.
To slow the cycle:
- Rinse the concrete floor near the door with clear water after a heavy salt season.
- Dry the bottom seal and bottom edge of the door after wet weather when you can.
- Touch up any paint chips on the bottom panel to keep steel finish warranties on Amarr or Clopay doors in good standing.
- Ask your technician about stainless or coated hardware at your next inspection if your door sits within a block or two of the lake.
That’s a maintenance habit Lorain homes need that a homeowner in a dry inland city simply doesn’t have to think about, and it’s why we bring it up in every spring tune-up.
Which Tasks Keep Your Warranty and Which Void It
Manufacturers are specific about what a homeowner may service and what belongs to a trained technician. Getting this right matters if a spring or opener fails inside a warranty window.
Owner-approved maintenance:
- Lubricating hinges, roller bearings, and spring coils with a garage door lubricant
- Cleaning the door surface and touching up paint chips
- Tightening the lag bolts that mount the opener rail to the header where the owner’s manual allows
- Testing the safety reverse and replacing the photo-eye bulbs
- Replacing the bottom seal on most panel designs
Leave to a trained technician:
- Winding or unwinding torsion spring tension, in either direction
- Replacing or adjusting any lift cable
- Removing or re-securing a bottom bracket
- Adjusting the opener’s force limit beyond the settings the manual describes as normal
- Any track realignment involving the vertical track brackets
Torsion spring work is the one task that can void a spring manufacturer’s warranty and put a homeowner in the hospital at the same time. When a technician services a wound spring, we follow the manufacturer’s tension chart for the door’s weight and track each adjustment. That process is what a warranty or manufacturer recall check actually looks at if something fails later. If you’re not sure whether a task is covered, that’s a question to bring to your service call.
A Seasonal Checklist for Lorain Weather Windows
Lorain has four distinct garage door seasons, and each one stresses different components. Spreading the checks across the year means you never face a full checklist in the middle of a downpour or a snow drift. Tie the following to the seasons rather than specific dates.
Spring
- Full visual inspection after winter thaw: check for rust on bottom brackets and hinges, and cracks in the bottom panel.
- Rinse road salt residue from the garage floor near the door and clean the bottom seal.
- Run the balance test before the summer heat sets in, when springs may already be fatigued from winter.
- Test the safety reverse and photo-eye response after the season of long nights.
Summer
- Lubricate hinges, roller bearings, and spring coils on the schedule the manufacturer recommends.
- Check the opener’s travel and speed with the door open partway and ensure it reverses cleanly on obstruction.
- Look for loose lag bolts holding the opener to the header, since thermal movement loosens fasteners over a hot summer.
- Check the outside humidity cycling around the door threshold and clear any drainage issue near the seal.
Fall
- Re-check track plumb and roller gaps before the cold weather sets in.
- Clear leaves and debris out of the track channels and the bottom seal.
- Inspect the weather seal along the header and sides, which dry out and crack in autumn heat swings.
- Confirm the opener mounting is still secure and that the rail hasn’t sagged.
Pre-Winter
- Test the balance one more time before the heaviest part of the year for the opener.
- Look for any sign of cable fraying and address it before it becomes a snapped cable.
- Check the bottom seal compression after the door has had a summer to settle.
- Schedule any repair before the first hard freeze, when a stuck door is both a security risk and far less comfortable to work on.
If you’re running a LiftMaster or Craftsman opener and haven’t had a technician check the force limits and travel in a couple of years, add that to the pre-winter list. That single adjustment catches a large share of “my door is acting up” calls each January. For a full seasonal inspection and tune-up, Lorain Garage Door Repair Pros can work through the checklist with you and give you a written picture of what needs attention and what’s in good shape.
Common Mistakes to Avoid
- Lubricating before inspecting. It quiets the symptom and hides the cause. Always finish the structural and balance checks before the grease gun comes out.
- Testing spring tension by hand. Torsion and extension springs carry stored energy that can seriously injure you. If the balance test fails, call for service rather than attempting an adjustment.
- Ignoring a sagging bottom bracket. A little rust around the bottom bracket looks cosmetic until the cable anchor goes, and the whole door drops. Inspect that hardware specifically, especially on Lorain’s near-lakeside blocks.
- Mistaking a weak spring for a bad opener. A slow, labored lift is usually the spring losing tension, not the motor dying. Replacing the opener to fix a spring problem is throwing money at the wrong part.
- Greasing the door tracks. Tracks collect grit and don’t need lubrication. Greasing them causes the rollers to slide instead of roll.
- Skipping the balance test after a rough winter. Springs fail slowly, and the balance test is the cheapest early warning you’ll get.
- Voiding a warranty by adjusting what shouldn’t be adjusted. Homeowners can lubricate and replace seals. Replacing torsion springs yourself voids the warranty and risks injury.
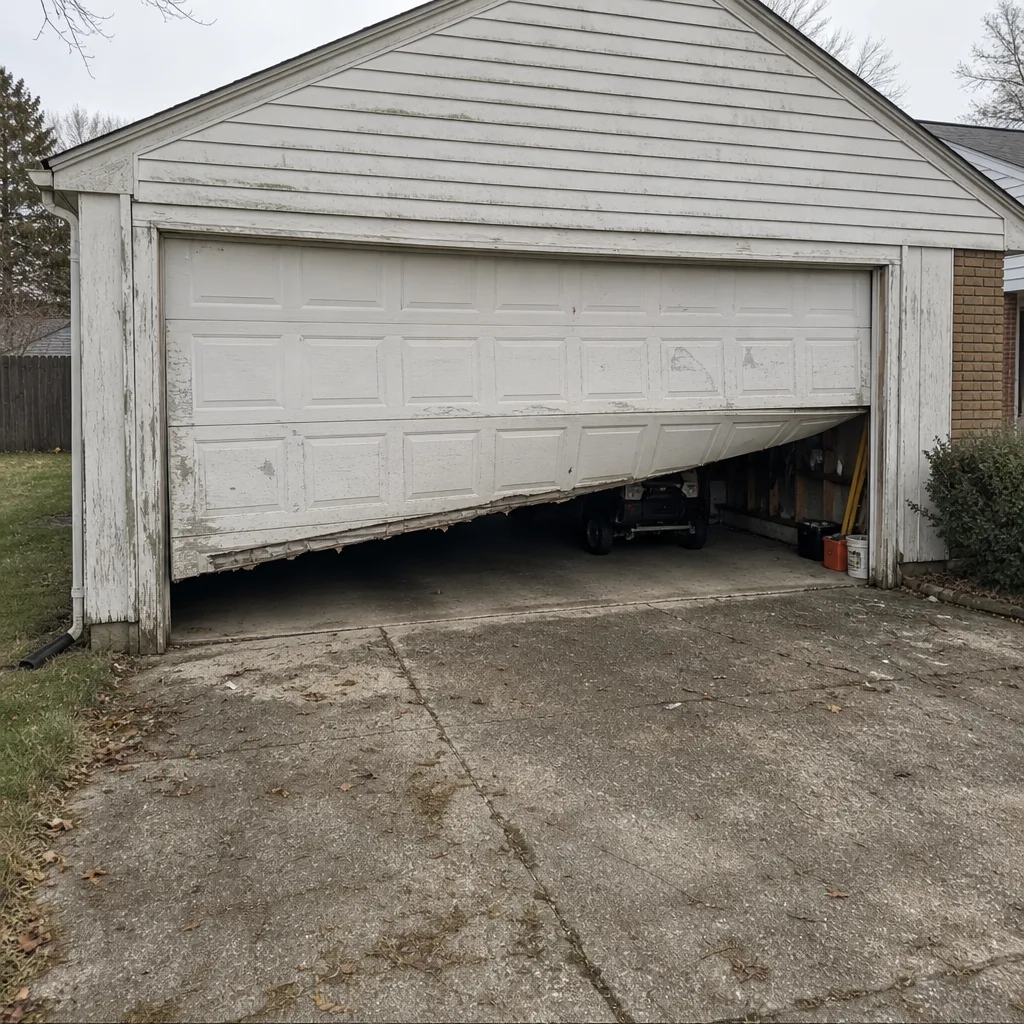
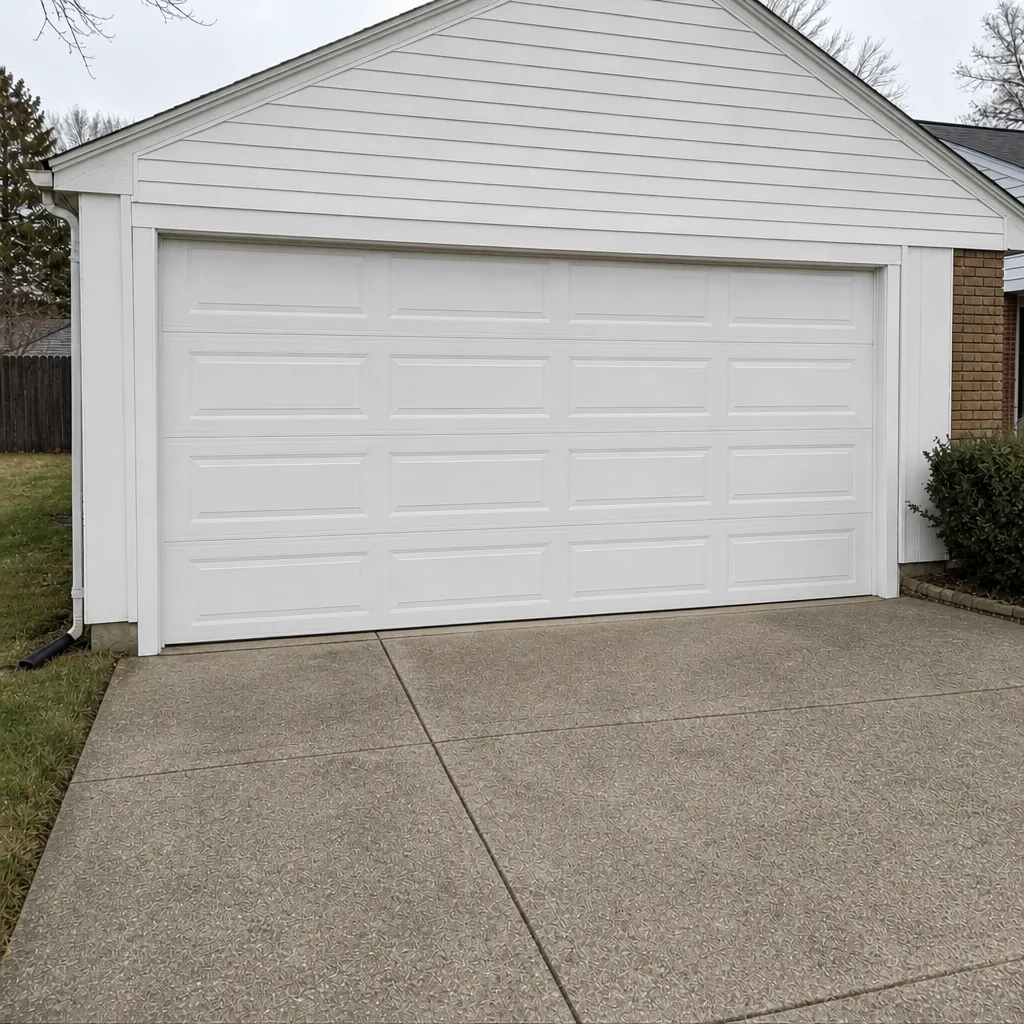
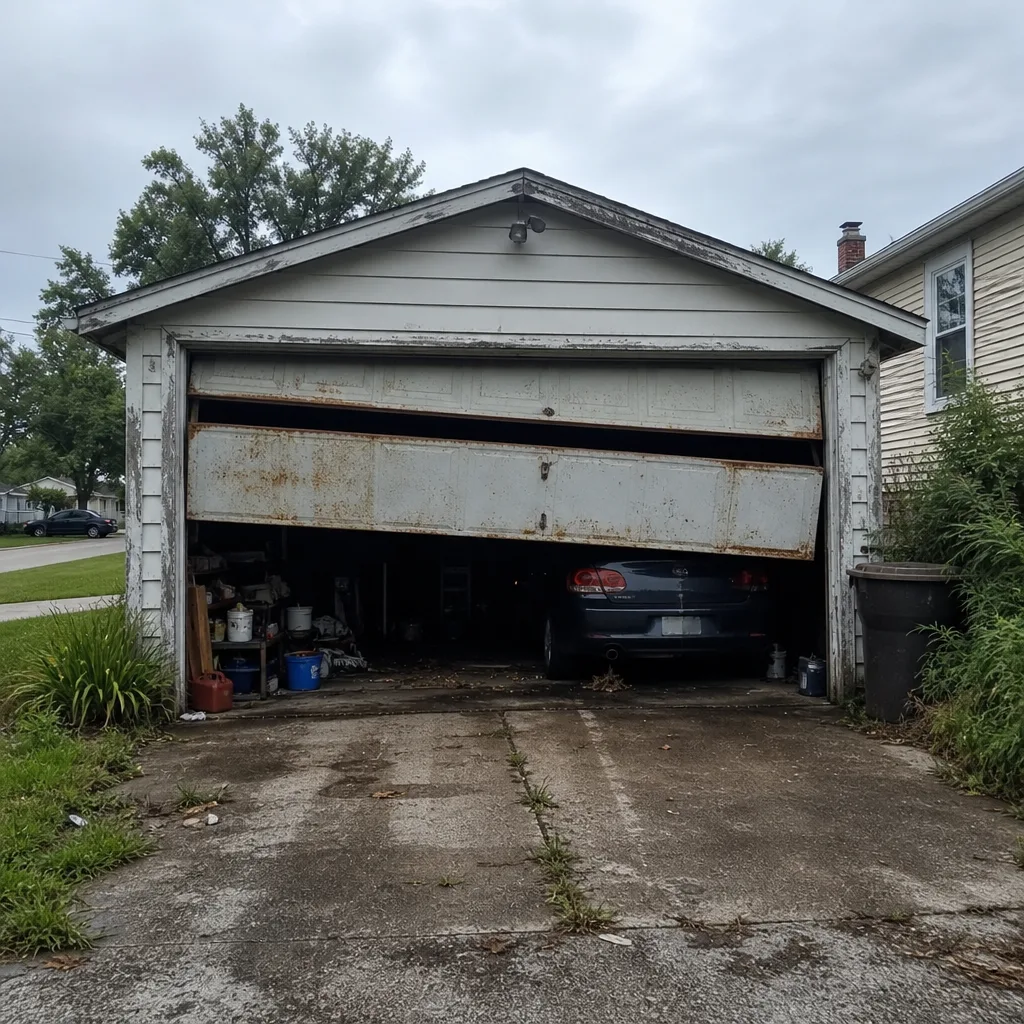
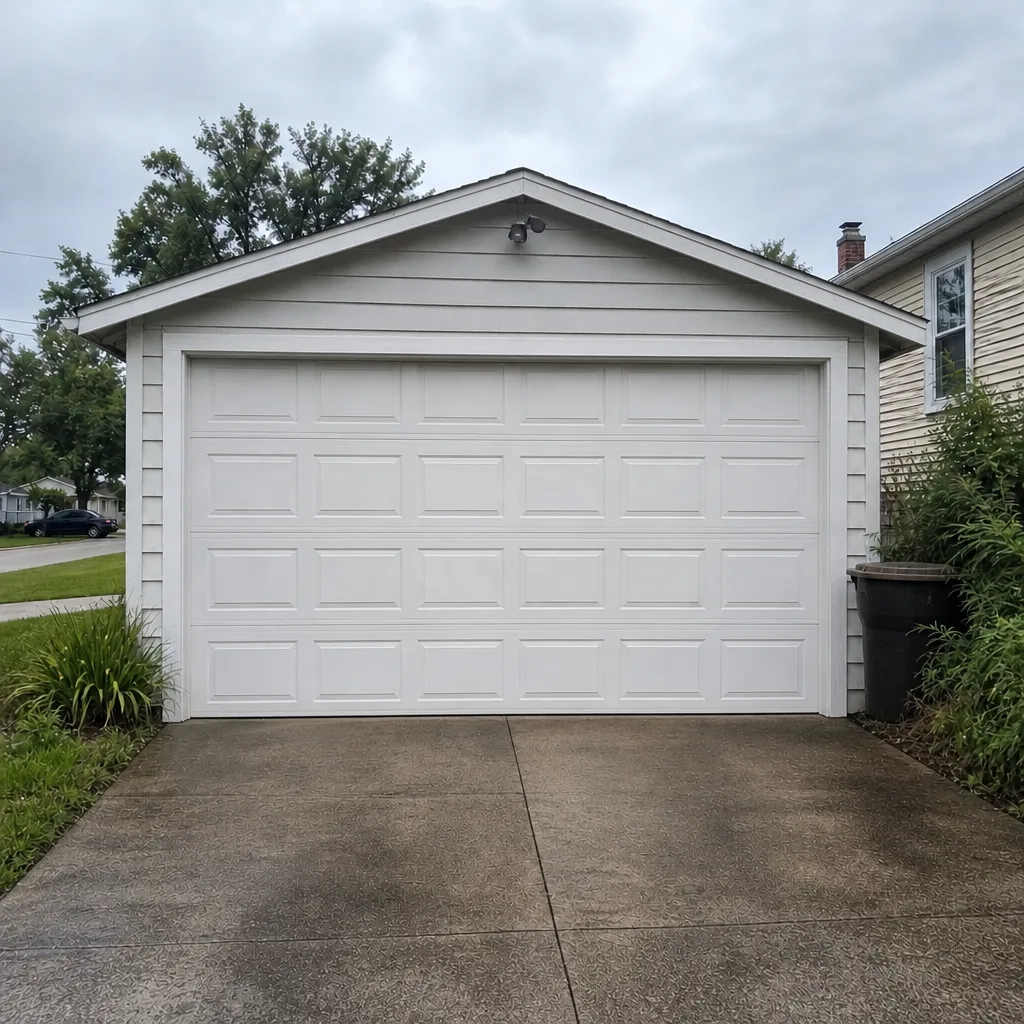
See the difference
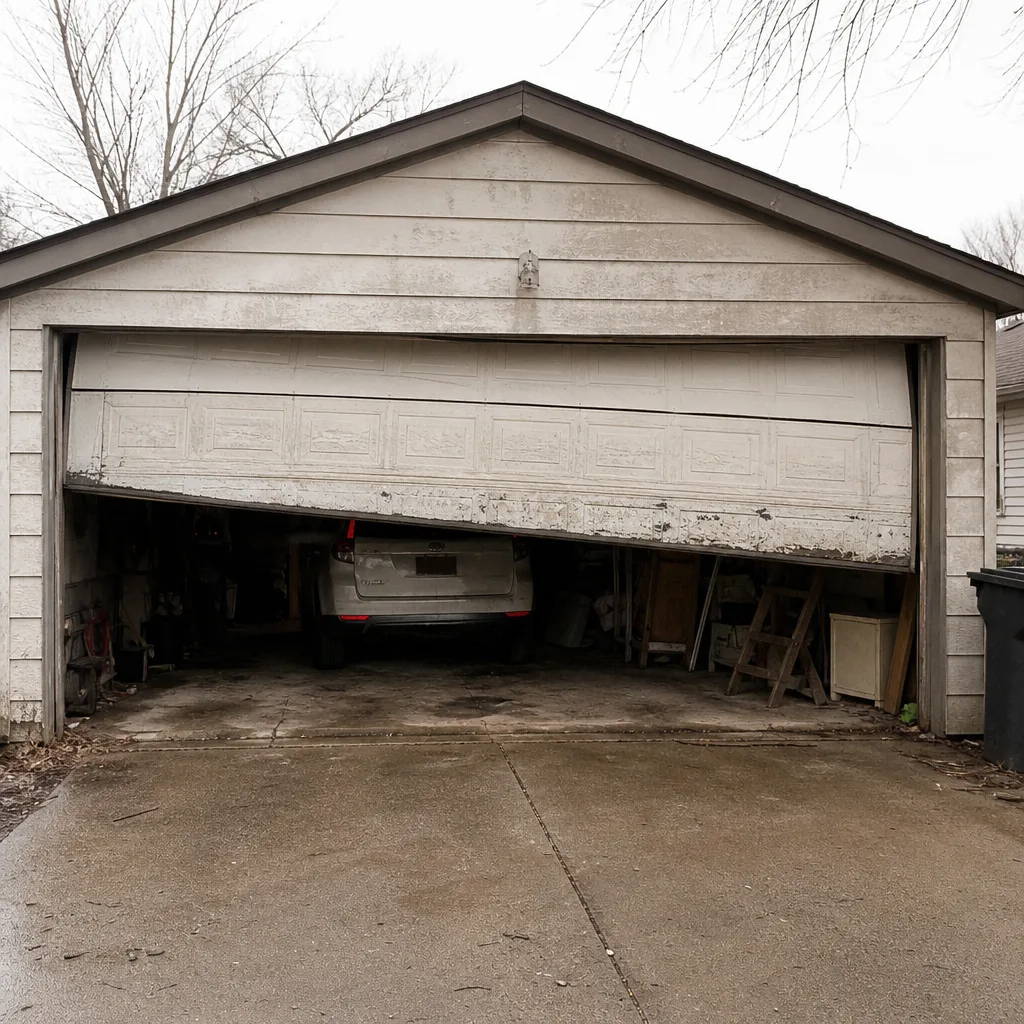 Before
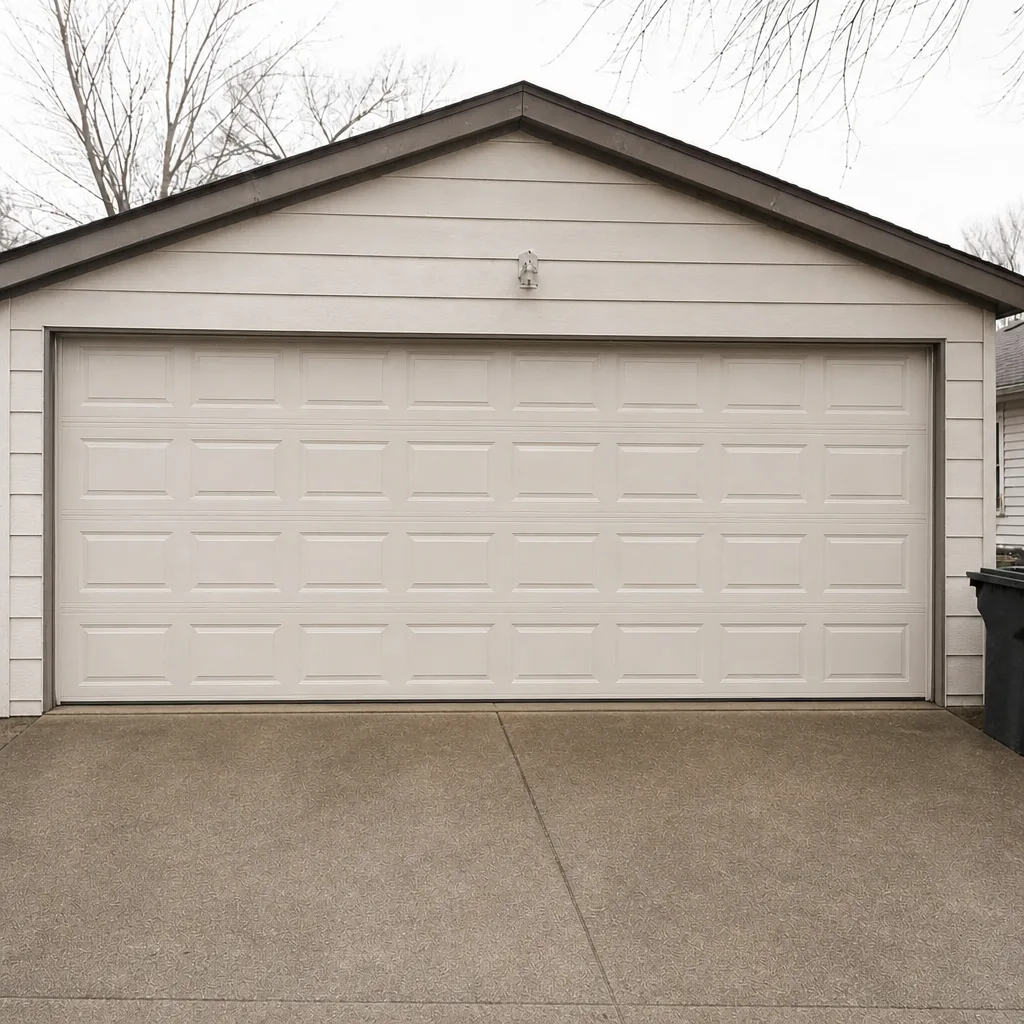 After
 Before
 After
 Before
 After
When to Call a Professional
Some checklist findings are maintenance tasks. Others are a same-day call for a trained technician. Call us if the door won’t hold position through the balance test, if any part of a spring looks separated or unwound, if a cable is frayed or hanging loose, if the door reverses unpredictably, or if a track is bent near the bottom bracket. A door that won’t close is a security issue, not just an inconvenience, so a stuck or open door is a call right away. Our technicians have up to 13 years of experience and work on LiftMaster, Chamberlain, Genie, Clopay, Amarr, Wayne Dalton, Craftsman, and Raynor systems every week. Lorain Garage Door Repair Pros offers free estimates in Lorain, so call (866) 937-7151. We answer 24/7. Fast dispatch from 7am to 7pm, Sunday through Friday.
Frequently Asked Questions
Once a season, with a full balance test and lubrication at least twice a year. Ohio’s freeze-thaw cycle and summer humidity stress springs, cables, and bottom hardware faster than a stable climate would, so a spring tune-up in the fall and an inspection in the spring catches most failures before they strand a door. If your door is older or heavily used, add a test at mid-season.
No. Torsion and extension springs are the most dangerous parts on the door, and adjusting or replacing either requires proper winding bars, training, and a controlled method. Even a gentle nudge in the wrong direction can cause serious injury. Spring repair is a job for a trained garage door specialist, not a general handyman. Call (866) 937-7151 for a free estimate.
If the opener runs and the door doesn’t, it’s almost always a broken spring, a slack or snapped cable, or a torsion shaft that has lost tension, not an opener problem. Stop running the motor, since continued use can damage the opener gears, and have a technician look at the spring and cable system before you replace the opener. Estimates for garage door opener repair are free, so start there before you buy a new unit.
Road salt tracked in on a winter vehicle plus lake humidity creates a corrosion cycle that focuses on the bottom brackets, bottom rollers, hinge plates, and any unpainted steel near the threshold. Rinse the concrete near the door with clear water after heavy salt seasons, dry the bottom seal when you can, and touch up paint chips. If your hardware is showing rust, ask about coated or stainless replacements at your next inspection.
No, lubricating hinges, roller bearings, and spring coils with a proper garage door lubricant is standard owner-approved maintenance on almost every brand, from Clopay to Amarr. What voids a warranty is adjusting spring tension, replacing a torsion spring, or moving a bottom bracket yourself. Stick to lubrication, seals, and visual checks if you want to keep the manufacturer happy and stay safe.
Often, yes. Spring failures, opener faults, and stuck doors are the kind of jobs we can usually handle the same day for a Lorain homeowner, so call and we’ll get you booked. Call (866) 937-7151. We answer 24/7. Fast dispatch from 7am to 7pm, Sunday through Friday. A call outside dispatch hours is booked into the next opening.
The Bottom Line
The order of your checklist is what makes it work. Structural and tension checks first, balance test next, then travel and reversal, and only then lubrication. Check those measurable tolerances with a tape measure and a level each season, run the balance test after every winter, and keep the bottom hardware clean and dry on Lorain’s near-lakeside blocks where road salt and lake humidity speed up corrosion. Leave the springs, cables, and bottom brackets to a trained garage door technician. Stick with the sequence, and you’ll catch the failures that cost the most before they happen. When you need a specialist who works the checklist and the repair with the same garage-door-only focus, we’re one call away for Lorain Garage Door Repair Pros.
Call Lorain Garage Door Repair Pros at (866) 937-7151 for a free estimate on any maintenance finding, repair, or new door. We answer 24/7. Fast dispatch from 7am to 7pm, Sunday through Friday. One specialist, start to finish, working on the eight major garage door brands Lorain homes actually have installed.
Written by the team at Lorain Garage Door Repair Pros.